Custom forms are created to store extra contact information, and you and your team members fill the forms.
While web form can let your contacts fill the custom form themselves. This is very helpful to collect information from your contacts, and the collected information can be merged automatically to the contacts.
1. Go to the web forms page by clicking Web Form in the left navigation bar, and click Create button to open the new web form.
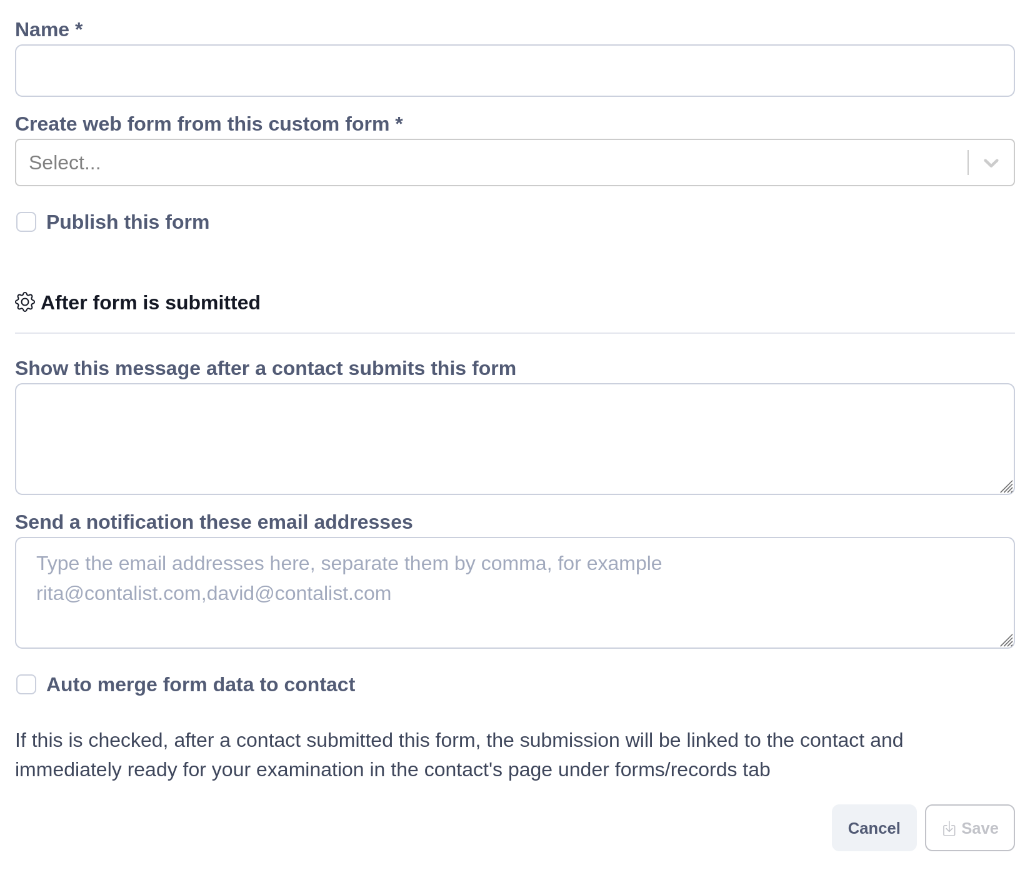
2. Give your web form a name, and choose the custom form to store your data. Check Publish this form to make your web form accessible online. Click the Save button, and your form is ready.
Click Preview button to see it in action
| Field | Description |
|---|---|
| Show this message after a contact submits this form | You can set some text to be displayed after the form is successfully submitted |
| Send a notification these email addresses | Set your email addresses here to receive the notifications on form submission |
| Auto merge form data to contact | You can send the web form to a contact, for example Chris, then when Chris submits the form, the form data will be linked to Chris automatically (you can view it in the Forms/Records tab of Chris's page) if this checkbox is checked. |
This is done by generating a share link for the web form and your contact, then send the share link to the contact. This is how a share link looks like, https://contalist.com/frm?form_id=2CIfVPP&t=FMM5U2irBUNo3Y1C9FrXHw
1. Open the web form's page, and click Send to contact button. This will open the 'Send to contact' popup
2. Choose your contact in the first step, go to the second step, now you have two options to send the web form
3. Send via Contalist - Send an email message to the contact from a template via our service. You can customize the email message's subject and body. Insert the placeholder {{ form link }} in the message body, and it will be replaced with the web form's share link when being sent to the contact
4. Generate share link - Click the Generate share link button, then copy the generated link and send it yourself
Web form directive is a piece of special text that you can paste into your message template as placeholder, and it will be replaced with the web form's share link when the message is sent to the contact
Here is an example web form directive #cl:web_form id='CkBgwz8' name='Extra contact information'#
1. Copy the directive from the Send form to contact with automated message card in your web form page
2. Create a message template, and paste the directive in it, where you want the link to be inserted
3. Create an action/automation in Setup page of our PowerUp with this mesage template
4. Run the action/automation and send a message to yourself to test it